
Installing Retro Panes
1. Preparing your window
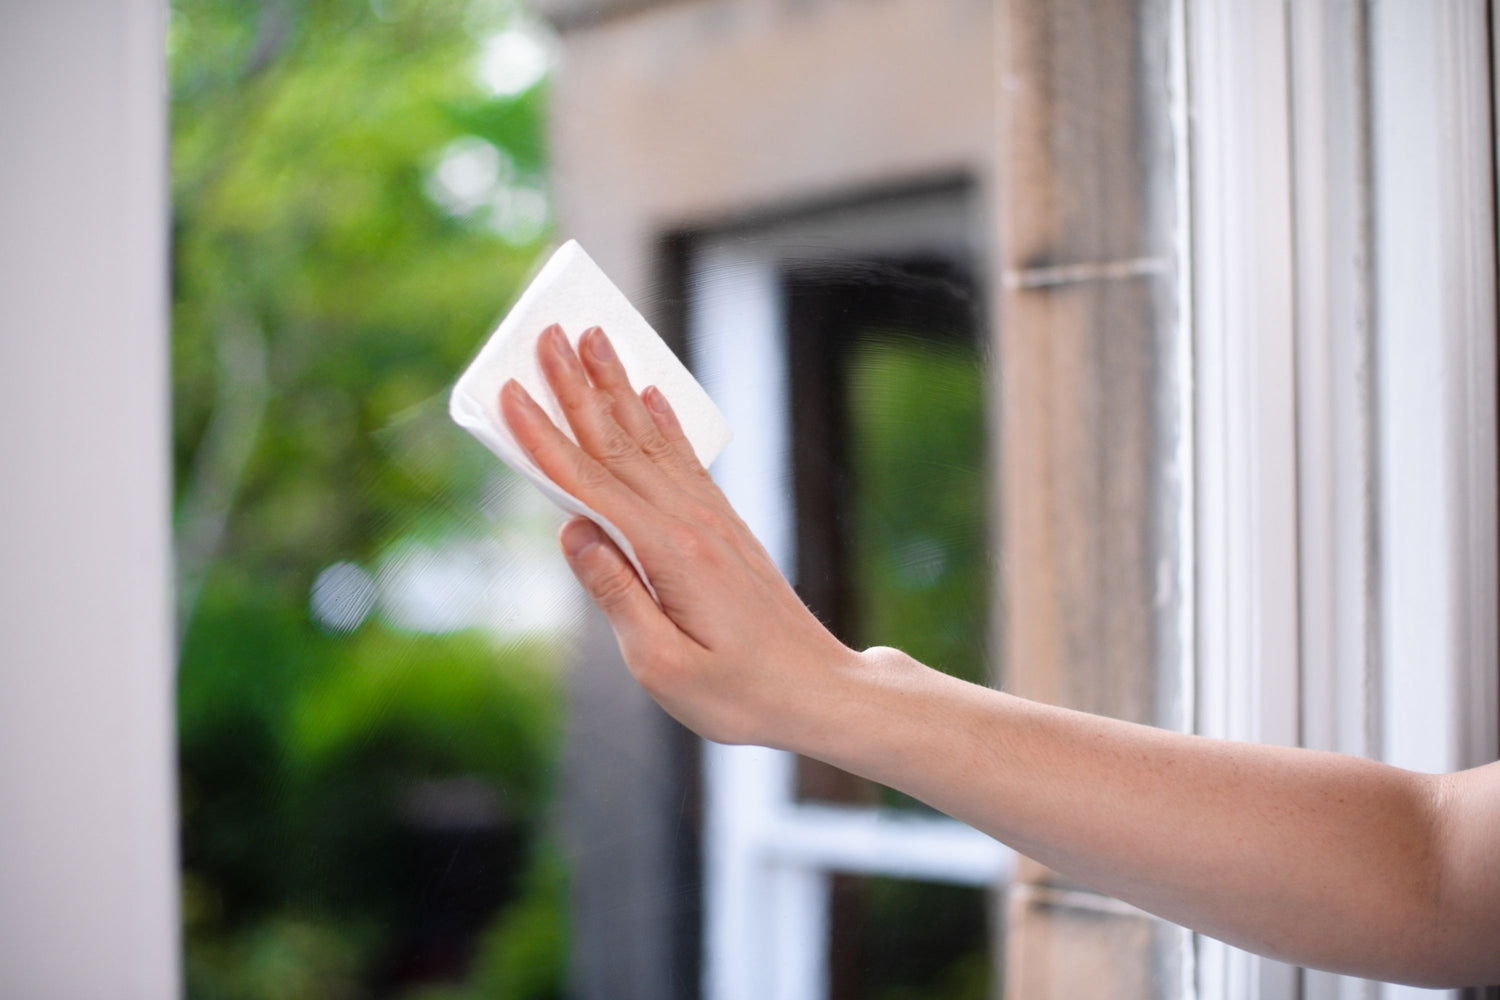
Start by checking if there are any window locks or sash eyes in your way, then clean your windows.

2. Unboxing Retro Panes
Remove the protective film from both sides of the Retro Pane. Avoid getting any dust or fingerprints on the pane, especially on the side that will face the window.
3. Inserting the Retro Pane
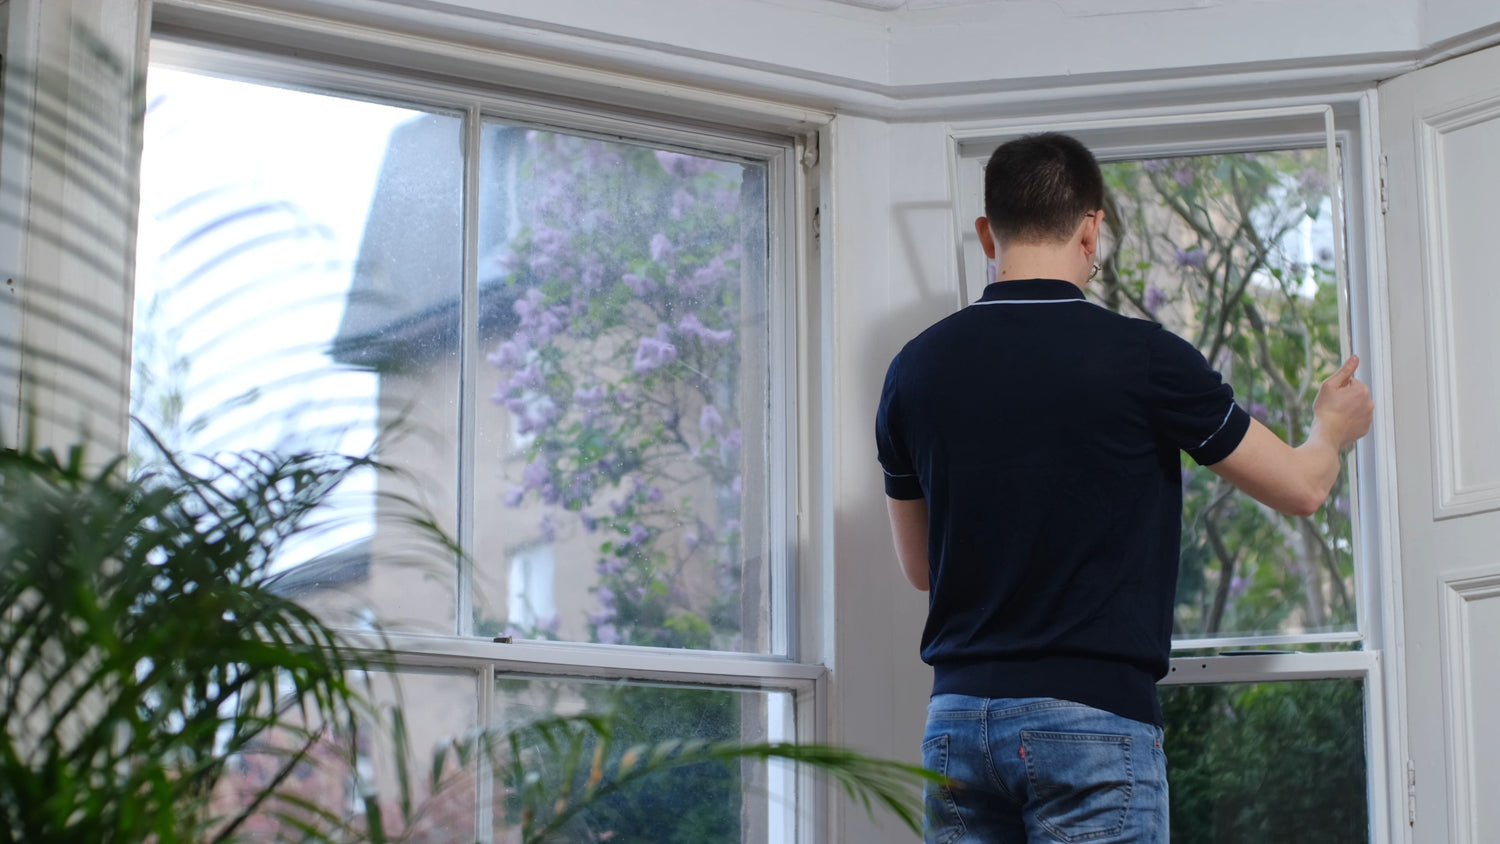
Position your Retro Pane along one side of the window and push the pane firmly into one edge of the window frame.

4. Locking in place
Ensure the foam aligns with the corners of your window frame. Then push in the opposite side of the pane and apply pressure around all the edges to ensure proper alignment.
5. Tidying up the foam
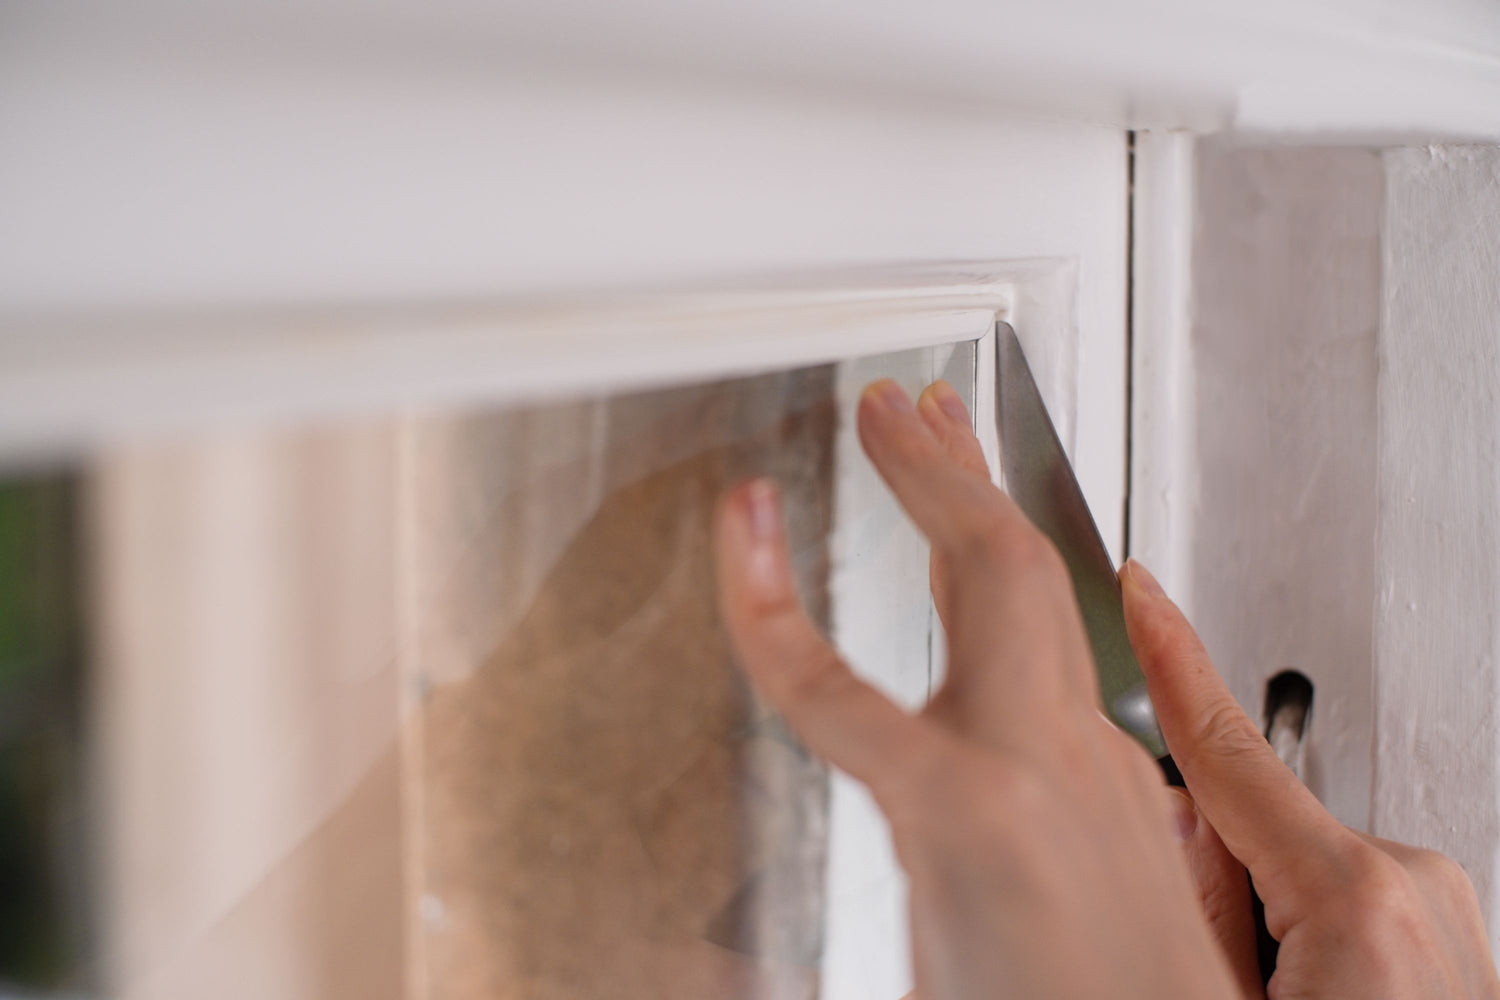
Starting with the edges, use a table knife to carefully tuck in the foam surround until it sits flush with the aluminium frame, ensuring a neat appearance.
While doing so, be mindful to gently press the edge of the Retro Pane against the window pane, avoiding excessive pressure to prevent any damage to the glass.
Proceed systematically, working your way around the entire pane, bit by bit.
6. Releasing air
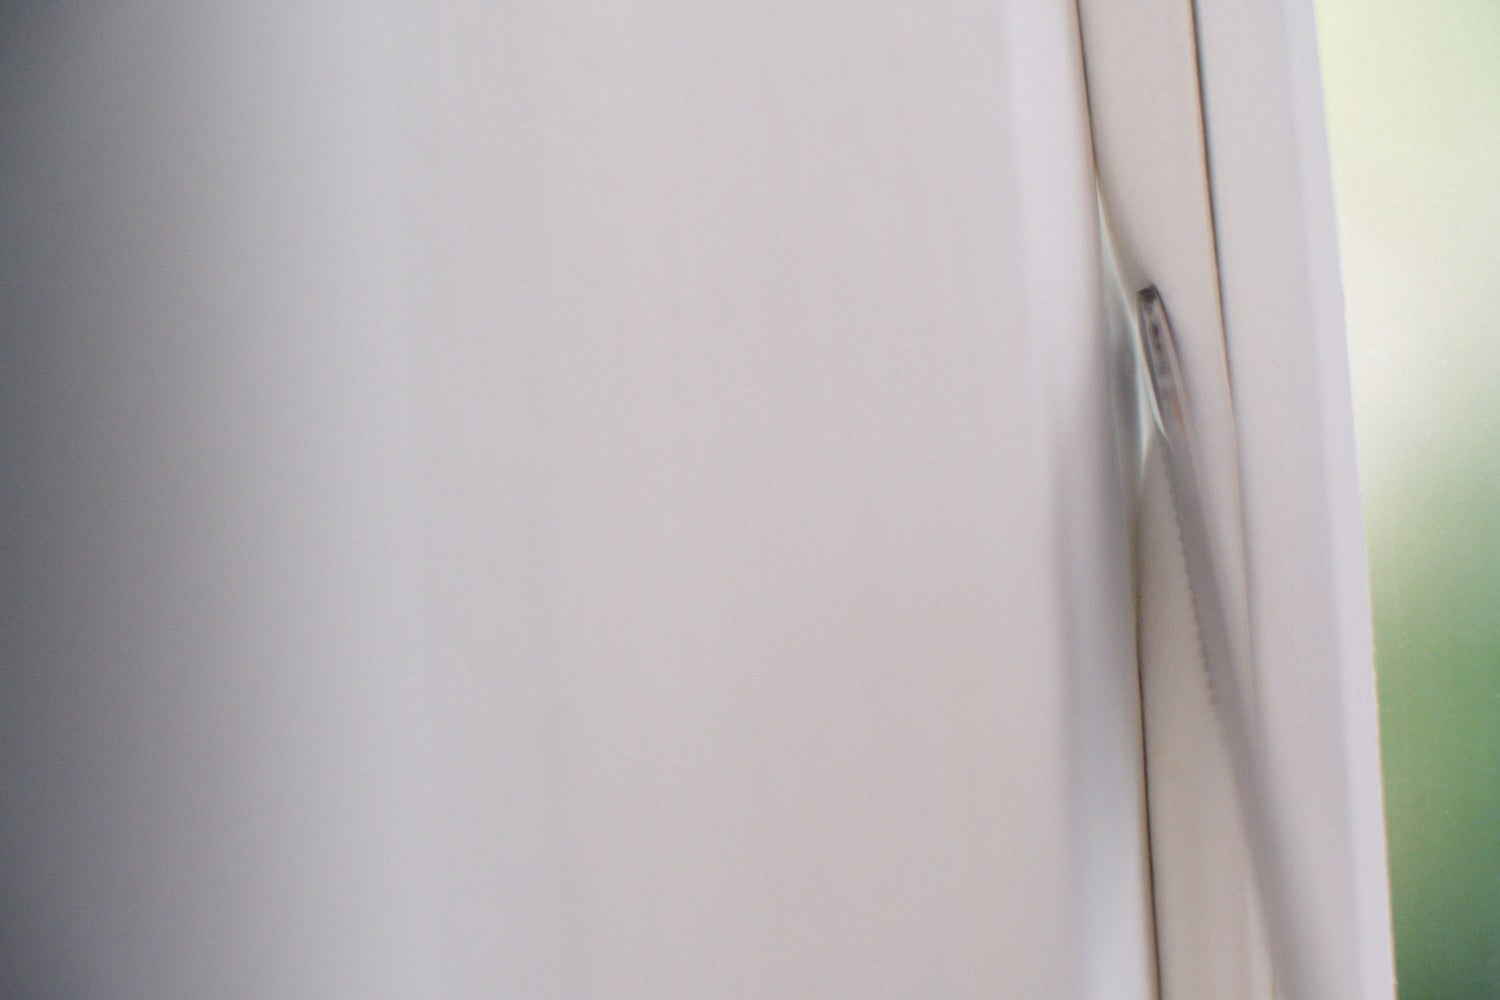
Allow excess air to be released by using a table knife to push the foam surround to one side, creating a small gap.
Apply gentle pressure to the middle of the pane to release air. This will help the pane hold securely at an equal, fixed distance from the window.
Your Retro Panes are now in place!
Contact us
-

Live Chat
Chat hours:
Monday-Friday
9am - 5pm
Start a chat -

-


